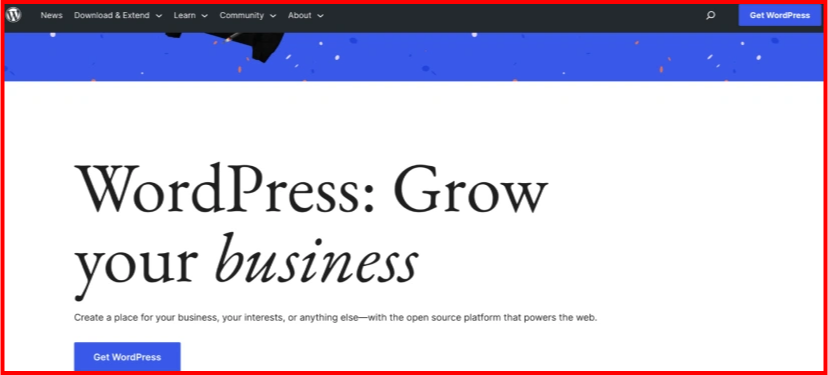
WordPress is the widely used platform for content management for posting and uploading all types of content on your site. We highly recommend everyone to install WordPress locally because it is a very important software and it is also used for testing itself. Here, you will learn about the necessary steps to install WordPress on a local host. Here, we will use the XAMPP local host software to install WordPress as it is free and supports multiple operating systems.
Table of Contents
5 Steps to Install WordPress on Local Host
WordPress is the best economical platform for content management. So, here is an important guide given below on how to install WordPress on a local host.

Step 1: Download XAMPP Software
Initially, to install WordPress on a local host, you are required to download XAMPP software from Apache Friends. XAMPP software is accessible for Mac OS X, Windows, and Linux.
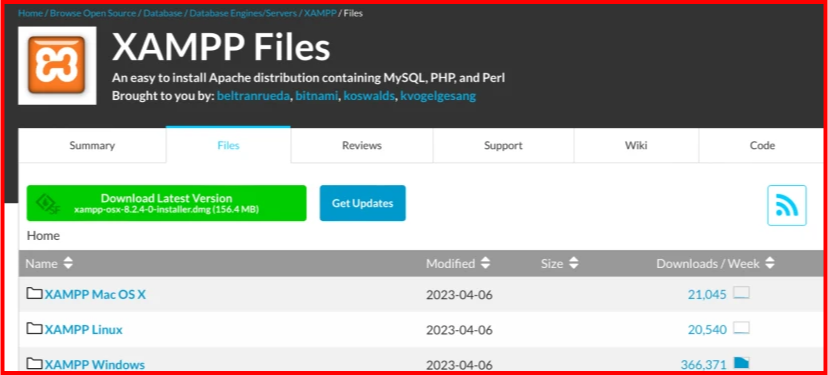
Now, while downloading a software, you need to choose the accurate version that matches your operating system. Once you choose the operating system the download will start automatically, or may take some minutes.
Once it completes downloading, run the file to launch the XAMPP installer. You might see a warning if your system has any antivirus program, but you can proceed with the installation process.
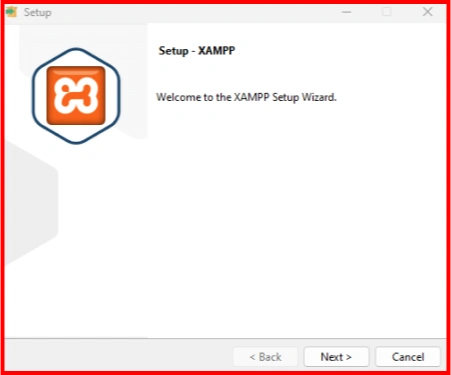
Moreover, you can also see a warning notice about User Account Control (UAC). But you are not required to worry, you can continue with all the warnings that appear.
After all this process, you will see an installation tab on your screen, you can click on the next button.
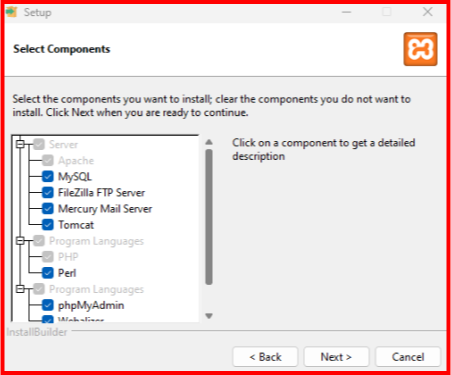
Now, you are required to choose the components you need, ensure that you do not need all the components for WordPress, so you can select main components like MySQL and phpMyAdmin. Select all the components you need and then, click next.
Now you need to select the platform where you want to install your XAMPP and also select your preferred language.
Now, you will see a pop up where it is recommending you to install Bitnami for XAMPP. Though it’s not necessary for WordPress, it helps you to make the process simple. But still you don’t need to install Bitnami, you can directly click on the next button to start the installation.
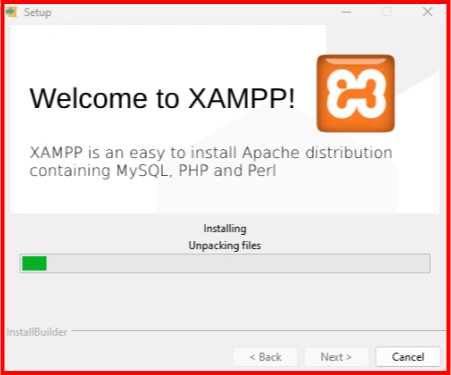
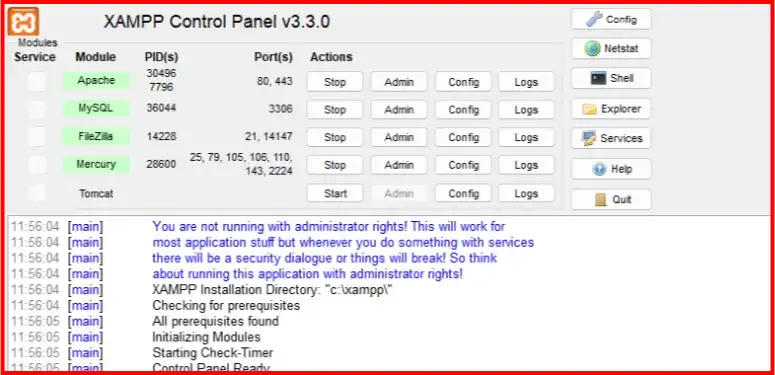
Once the installation is completed, you can launch the control panel and start working with XAMPP.
Step 2: Run the Modules
Now to install WordPress and XAMPP, you will need three specific modules.
- Apache
- MySQL
- PHP
Now you need to start installing these modules from the XAMPP control panel. Once the installation process is completed the status of each module must turn green.
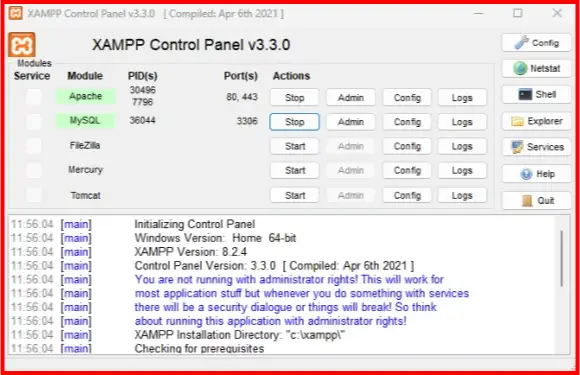
Once it’s installed, test if the local server is working properly or not. You can test it by visiting the local website on the web browser.
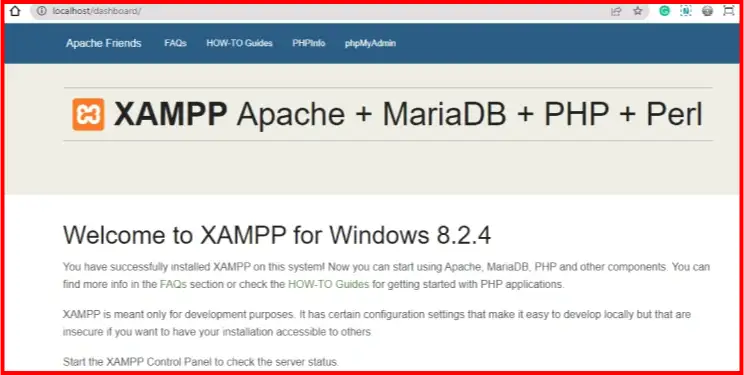
If the above process is successfully cleared, you’ll now have a functioning XAMPP server on your operating system.
Step 3: Add the WordPress Files
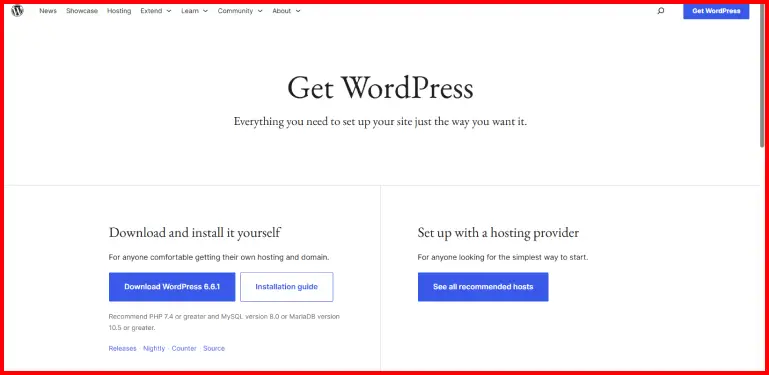
Now, you have come two steps ahead. You have completed the downloading procedure and run the modules in XAMPP, now it’s that perfect time to install WordPress. To install the latest version of WordPress you need to visit the official website of WordPress and click on Get WordPress to start the installation process.
Now you will come across multiple options to get a WordPress set up with a hosting provider. WordPress with Hosting is only helpful for the people who want to create a live website.
Since you need to install WordPress with a localhost, click on Download WordPress latest version at WordPress Official Website (WordPress 6.6).
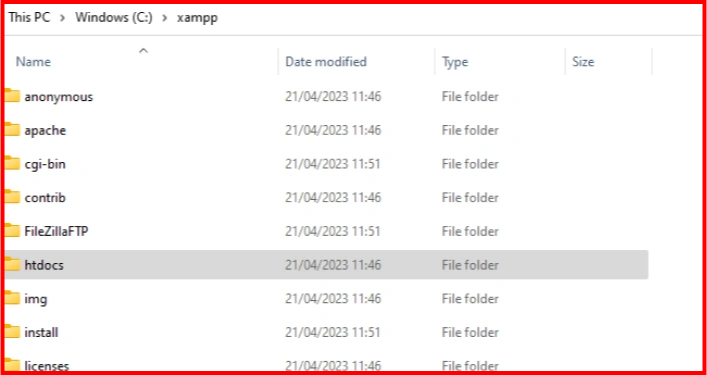
Now WordPress will be downloaded to your system in the same folder where you stored XAMPP. You can find this with names like C://xampp. Now open the folder and search the htdocs subfolder.
In the htdocs folder you can create a new folder for your site, and name your site by “testsite” now you can access the site by visiting localhost/ testsite. Once this process is completed extract the WordPress zip file downloaded in the starting of this step. Extract the WordPress zip file by right-clicking on it and selecting ‘Extract All’ (Windows) or double-clicking (Mac).
Step 4: Create Your Database
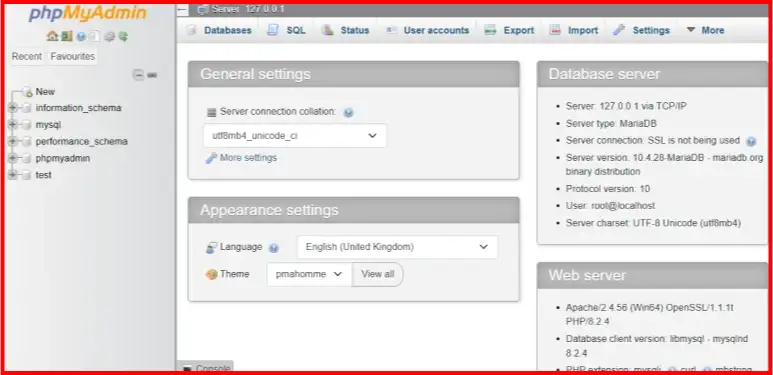
In this step you will create a MySQL database for your WordPress Installation. Firstly, launch phpMyAdmin from the control panel of the XAMPP. To start this process click on the admin button for MySQL.
Now, select the database tab from phpMyAdmin, enter the name of the database and click on create.
Step 5: Complete the WordPress installation
First, visit the local website by searching localhost/url to see the normal WordPress installer.
Now you will require to enter complete details in the database. Now, you should see a fresh WordPress install running on your localhost.